Here is a fun bag pattern that represents an Uluaq. Uluaq in Yup’ik translates to woman’s knife. Below is the translation of uluaq taken directly from the Yup’ik Eskimo dictionary which can be found here at this LINK
uluaqtraditional Eskimo woman’s knife shaped like a broad wedge set in a handle opposite the arc- shaped edge; semi-lunar knife; any type of knife (CAN meaning) # sometimes called ‘ulu’ in English, from the Inupiaq name for this kind of knife; the sharp edge of an uluaq is its kegginaq, the handle is its egkuaq; uluakun ulligciuq ‘she is cutting fish for drying with a semi-lunar knife’; Urluvminek- gguq tauna tan’gaurluller tegumiarrarluni. Tauna-llu-gguq aipaa nasaurluq uluamek. Nanikuangengamek taum tan’gaurlullraam tauna nasaurluq pillinia, “Uluarpegun kepqerru.” ‘The little boy clutched his bow and arrow and the girl her semi-lunar knife’. When they panicked, not knowing quite who to do, the boy told the girl, “Cut it with your semi-lunar knife.”’ (PAI 2008:400); NS, Y, NI, NUN, CAN, K, BB, NR, LI;cf. ulu; > uluara-, ulurpak; < PE ulu(3) and ulu3a3
Sew Yup’ik Uluaq Bag Pattern
The image above is what your uluaq bag will look like. You can create your uluaq bag however you would like. You can add a separate material for the handle. You can embellish it with qupak designs. Here is this video on my Sew Yup’ik YouTube channel I show you how I make my qupaks CLICK HERE
To make this bag pattern you will need:
Material for the outside, the uluaq bag pattern is 19″ wide by 12.5″ height
Material for the inside, the uluaq bag pattern is 19″ wide by 12.5″ height
And interfacing, I personally like to use 987F Pellon Fusible Interfacing when making these bags
10″ zipper or longer
And then sewing machine, coordinating thread
To make the handle you can utilize scrap material as well, I like to make my straps 2.5″ wide and iron in a fold, and then sew them together and the length is up to your liking
(I will share this in the video on my Sew Yup’ik Youtube Channel)
You can mix and match your material if you wanted to use scrap fabric for the outer material and liner material
Here is the downloadable PDF pattern to use. You will need to print it on two pages and then tape the handle to the blade pattern.
Once you have the material, and the pattern printed please refer to my Sew Yup’ik Youtube channel for the instructional video. The video can be found here: https://youtu.be/6nAmDHRIuxo
When I have the time I will create a written downloadable instructional outlining the steps. For now please refer to my Sew Yup’ik Youtube Channel here: https://youtube.com/@SewYupik
Quyana for downloading this Sew Yup’ik Uluaq bag pattern. I hope you had fun creating your own uluaq bag and please if you make one and share it online tag me Sew Yup’ik. I am on Facebook, Instagram, TikTok, Twitter, and Youtube.
This pattern graphic, the photos and the instructions are copyright Nikki Corbett at Sew Yup’ik. Please do not copy, publish, sell, redistribute or alter them in any way. Please do not rebrand this work as your own and sell or give it away, even if altered. This is intended for your personal use. If you would like to recommend these instructions, please pass on the original download link at Sew Yup’ik . Thank you for your understanding.
Usage – you ARE allowed to use this pattern to make things to sell on a small handmade basis, such as for craft fairs and for your Etsy shop. However it may not be used for larger scale commercial purposes without a commercial license
To say that I am grateful is an understatement. I feel very fortunate to have been able to see a portion of the amazing Yup’ik collection of handmade items by master artists from around the state and The Yukon Kuskokwim Area.
My focus while visiting The Alaska Native Heritage Center was to view piluguk (hard sole bottom books), teggumiaqs (dance fans), nasqerrun (headdress), traditional necklaces, and other skin sewn items. Since I have hit restart on my skin sewing journey I have been focusing piluguk because that was my first big sewing project I wanted to complete. I completed my first piluguk at the end of March thanks to a project funded by The CIRI Foundation.
With each beautiful handmade item I felt an a sense of peace. Viewing the Yup’ik collection of handmade clothing wear brought me so much joy and also sparked the connection again to start hand sewing again. I lost that spark after my brother passed on March 28th, 2023. After completing my first pair of piluguk I was on cloud 9 and that feeling was replaced with grief and immense sadness. I have been slowly making my way back to skin sewing and sewing but now it has become more important because it is healing my soul.
Skin sewing has brought me closer to my grandmother Narull’aq and aunt Tun’aq. I have felt more connected to them since I started getting serious of skin sewing and it has been an amazing feeling. To be able to create with guidance of my grandmother’s handmade clothing wear has been an honor. And my visit to The Alaska Native Heritage Center brought on that same sense of feeling. These opportunities have allowed me to grow as an artist in so many ways and for that I am forever grateful. I know going forward I will pave the way for my skin sewing journey and I can’t wait to share that with my children, grand children and future generations to follow. I hope that I can lead by example and show that anything is possible if you put your mind to it. Follow your dreams and stay true to yourself. And as always remember where you came from.
Quyana Cakneq again to The CIRI Foundation, The Alaska Native Heritage Center, Museums Alaska. And most importantly quyana to our ancestors who have walked this earth before us and led by example.
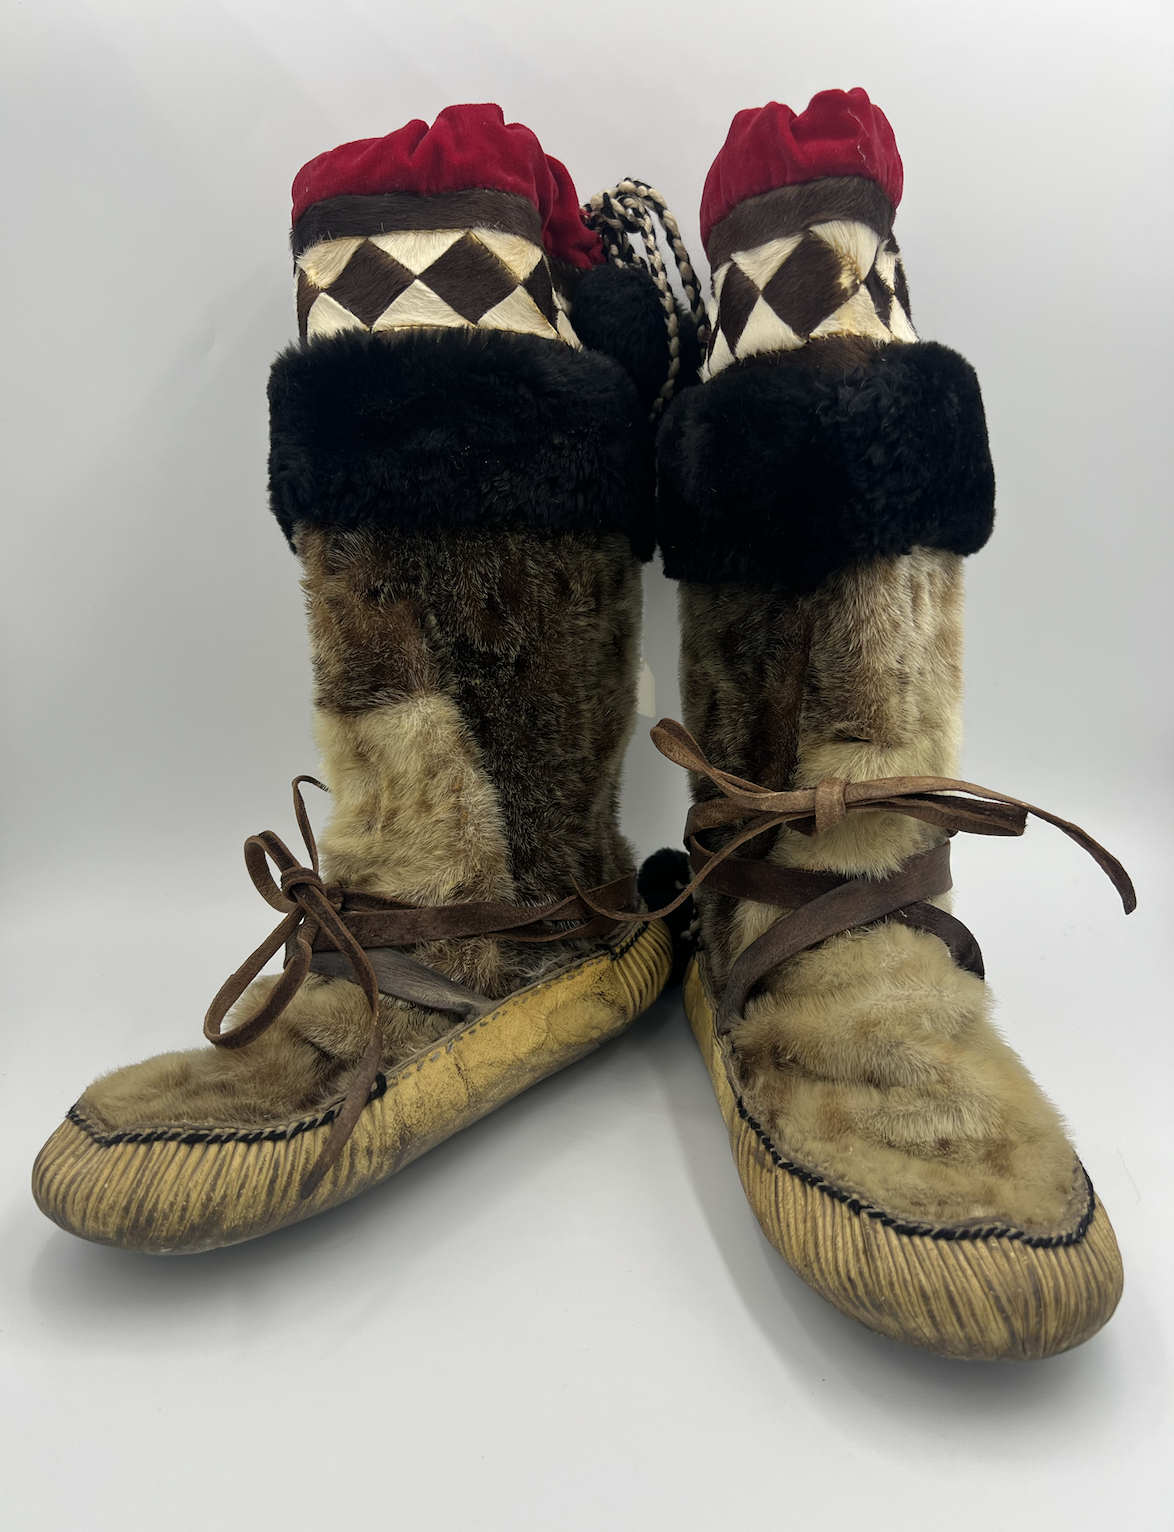
piluguk skin boot (LY, HBC, NI, CAN, LK, BB meaning); clothing (NSU meaning) # and pilugug– to put on footwear; to dress # pilugugtuq ‘he is putting on footwear’; pilugugaa ‘he is putting footwear on him’ / in areas where both piluguk and kameksak (q.v.) are used for skin boot, piluguk is used for boots that go higher up the calf; piluguugka ‘my skin boots’; Aturangqerrluteng yup’igtarrlainarnek pilugungqerrluta, ivrucingqerrluta-llu. Yup’igtarrlainarnek sap’akirtaunani-ll’ enurnapiarluteng. ‘They had only Yup’ik style clothing, skin boots, and wading boots. Only Yup’ik style, no (western style) shoes, which were very hard to come by then.’ (KIP 1998:105)
I didn’t grow up watching my grandmothers, aunties or mom work on piluguk. I had never watched anyone making piluguk but I knew that when I got older and into sewing I was going to make my dreams come true.
In 2015 I purchased my nat’raq from I think family out in Chefornak. And by I think I mean maybe he is an uncle but I am not sure the relation and as I write this. But I purchased in hopes of learning how to make piluguk from an elder in Nunapitchuk. But I didn’t make the time to try and learn and I missed my opportunity because she passed a few years ago. And I put my dreams on the back burner.
nat’raq, nateraq(NSU form) sole of skin boot; special oversole used to prevent slipping on ice
naterkaq sole material for skin boots, made from the tanned skin of the bearded seal
Here is the nat’raq that I purchased in 2015. Nat’raq is tanned bearded seal skin used for hard sole bottoms.
But then I had an opportunity to apply for a grant with The CIRI Foundation as an extension from my ARTShop grant that I received and I jumped at it. I began my search to find a teacher who would be willing to teach me. And just my luck I had a cousin (don’t ask me how but we are related) reach out and she said she was willing to teach me. I was excited beyond belief. I began my shopping for piluguk making supplies. Here is the list and I will expand on it more as I remember :
Calfskin
River Otter or sheared beaver or sea otter
Yarn for ciivaguat and strings
ciivaguatblack beads between the decorative stitching on the calfskin panels of a traditional Yup’ik parka # literally: ‘things like flies’; < ciivak-uaq plural
Beads if you want to decorate your piluguk
Glover skin sewing needles size 5, 6, 7 (the smaller size is better for when you working on hard sole)
Thread for skin sewing
Wax for thread
Corduroy for the top of the piluguk
And lining material
And nat’raq
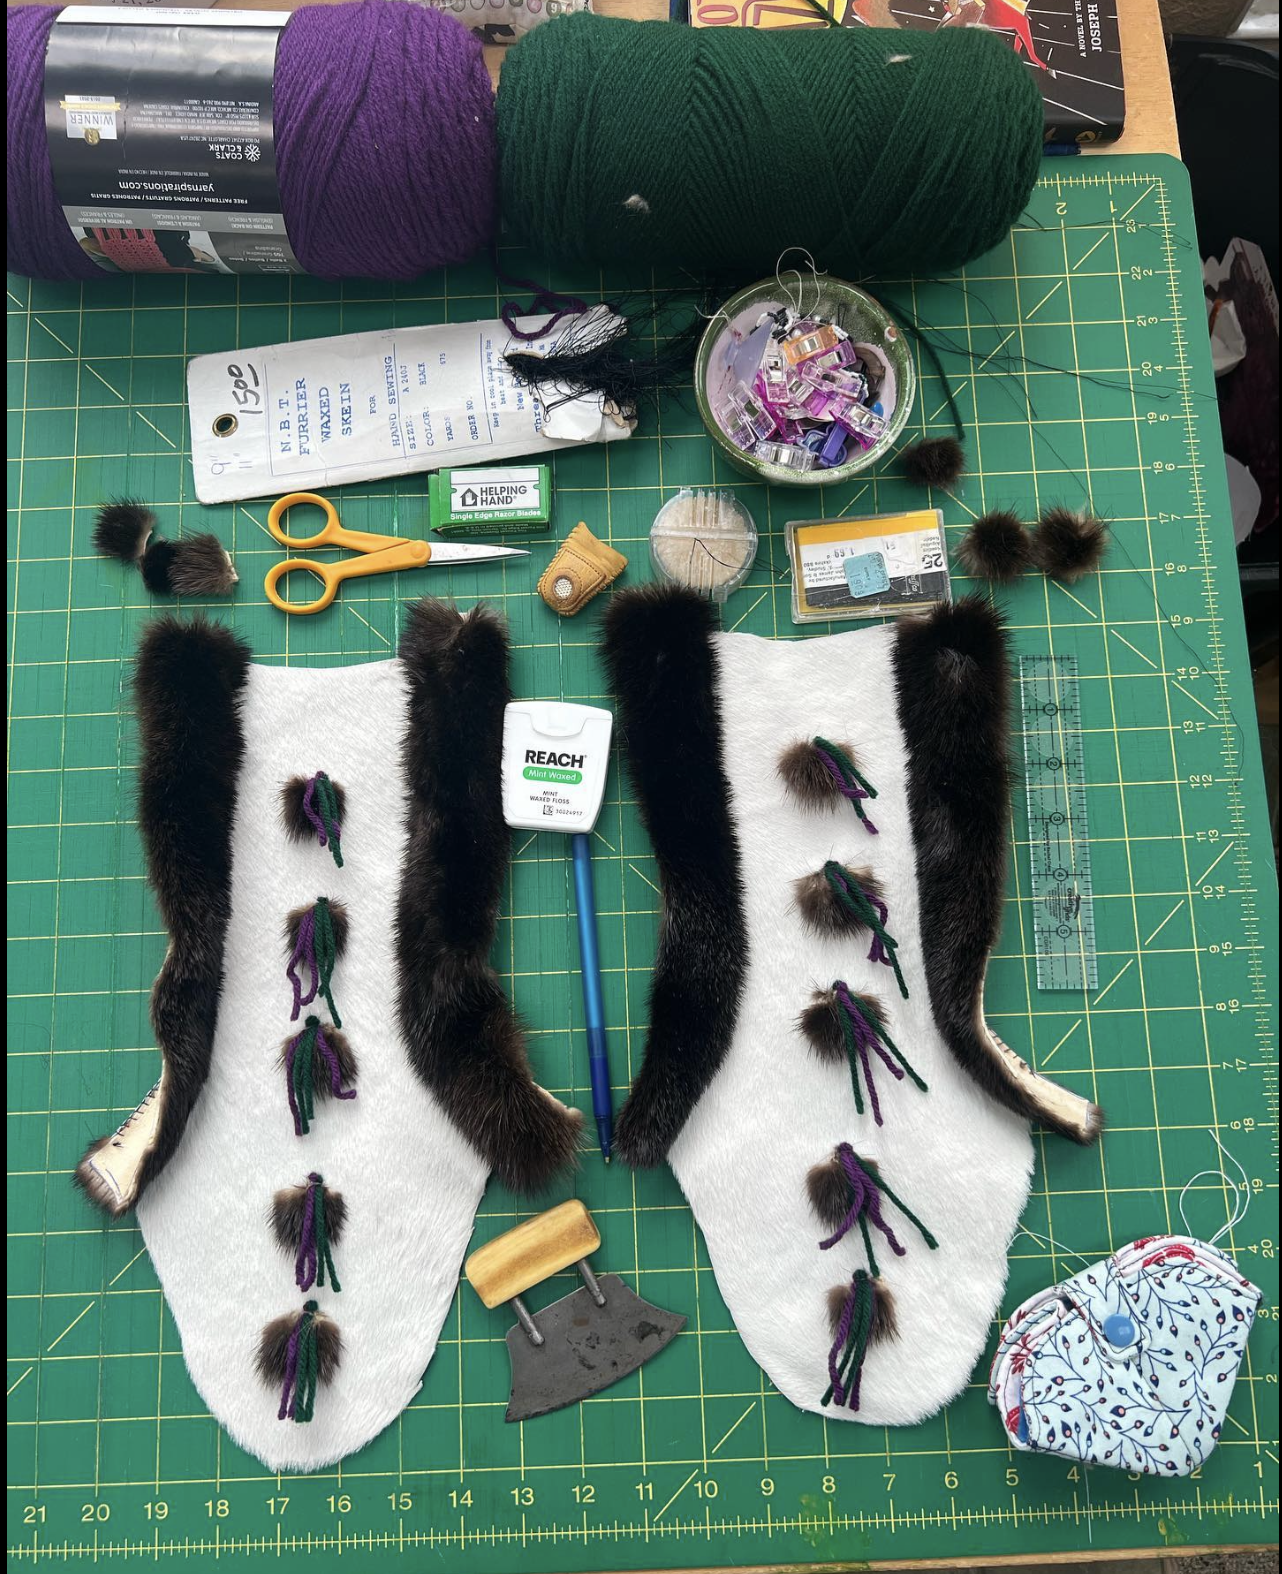
Here are my piluguk in the making with the supplies that I used in the process.
My pattern I used was shared with me from Margaret Dillon of Kuiggluk who got the pattern from Mary Anaver of Qipneq. I am thankful for the pattern sharing and I am willing to share with anyone interested please send me a message at sewyupik@gmail.com and I can share the pattern that I have.
Margaret guided me as I started my piluguk making over text and FaceTime. And when I first started my project I began documenting it on my Sew Yup’ik Facebook Page, Sew Yup’ik Instagram and Sew Yup’ik TikTok. I was very nervous to start and was even more nervous because I was opening the door to have people watch me as I started my sewing. But after I made the first initial cut and it started coming together I became more confident. And that fear turned to excitement with each stitch. With Margaret’s guidance I was also using a pair of my grandmother piluguk that she created. I felt so close to my grandmother while working on my piluguk and it made me miss her even more. But I was thankful to have her piluguk that she created and used them as the ultimate guide. I knew when I made my first pair I wanted to replicate a pair that my grandmother Elena made.
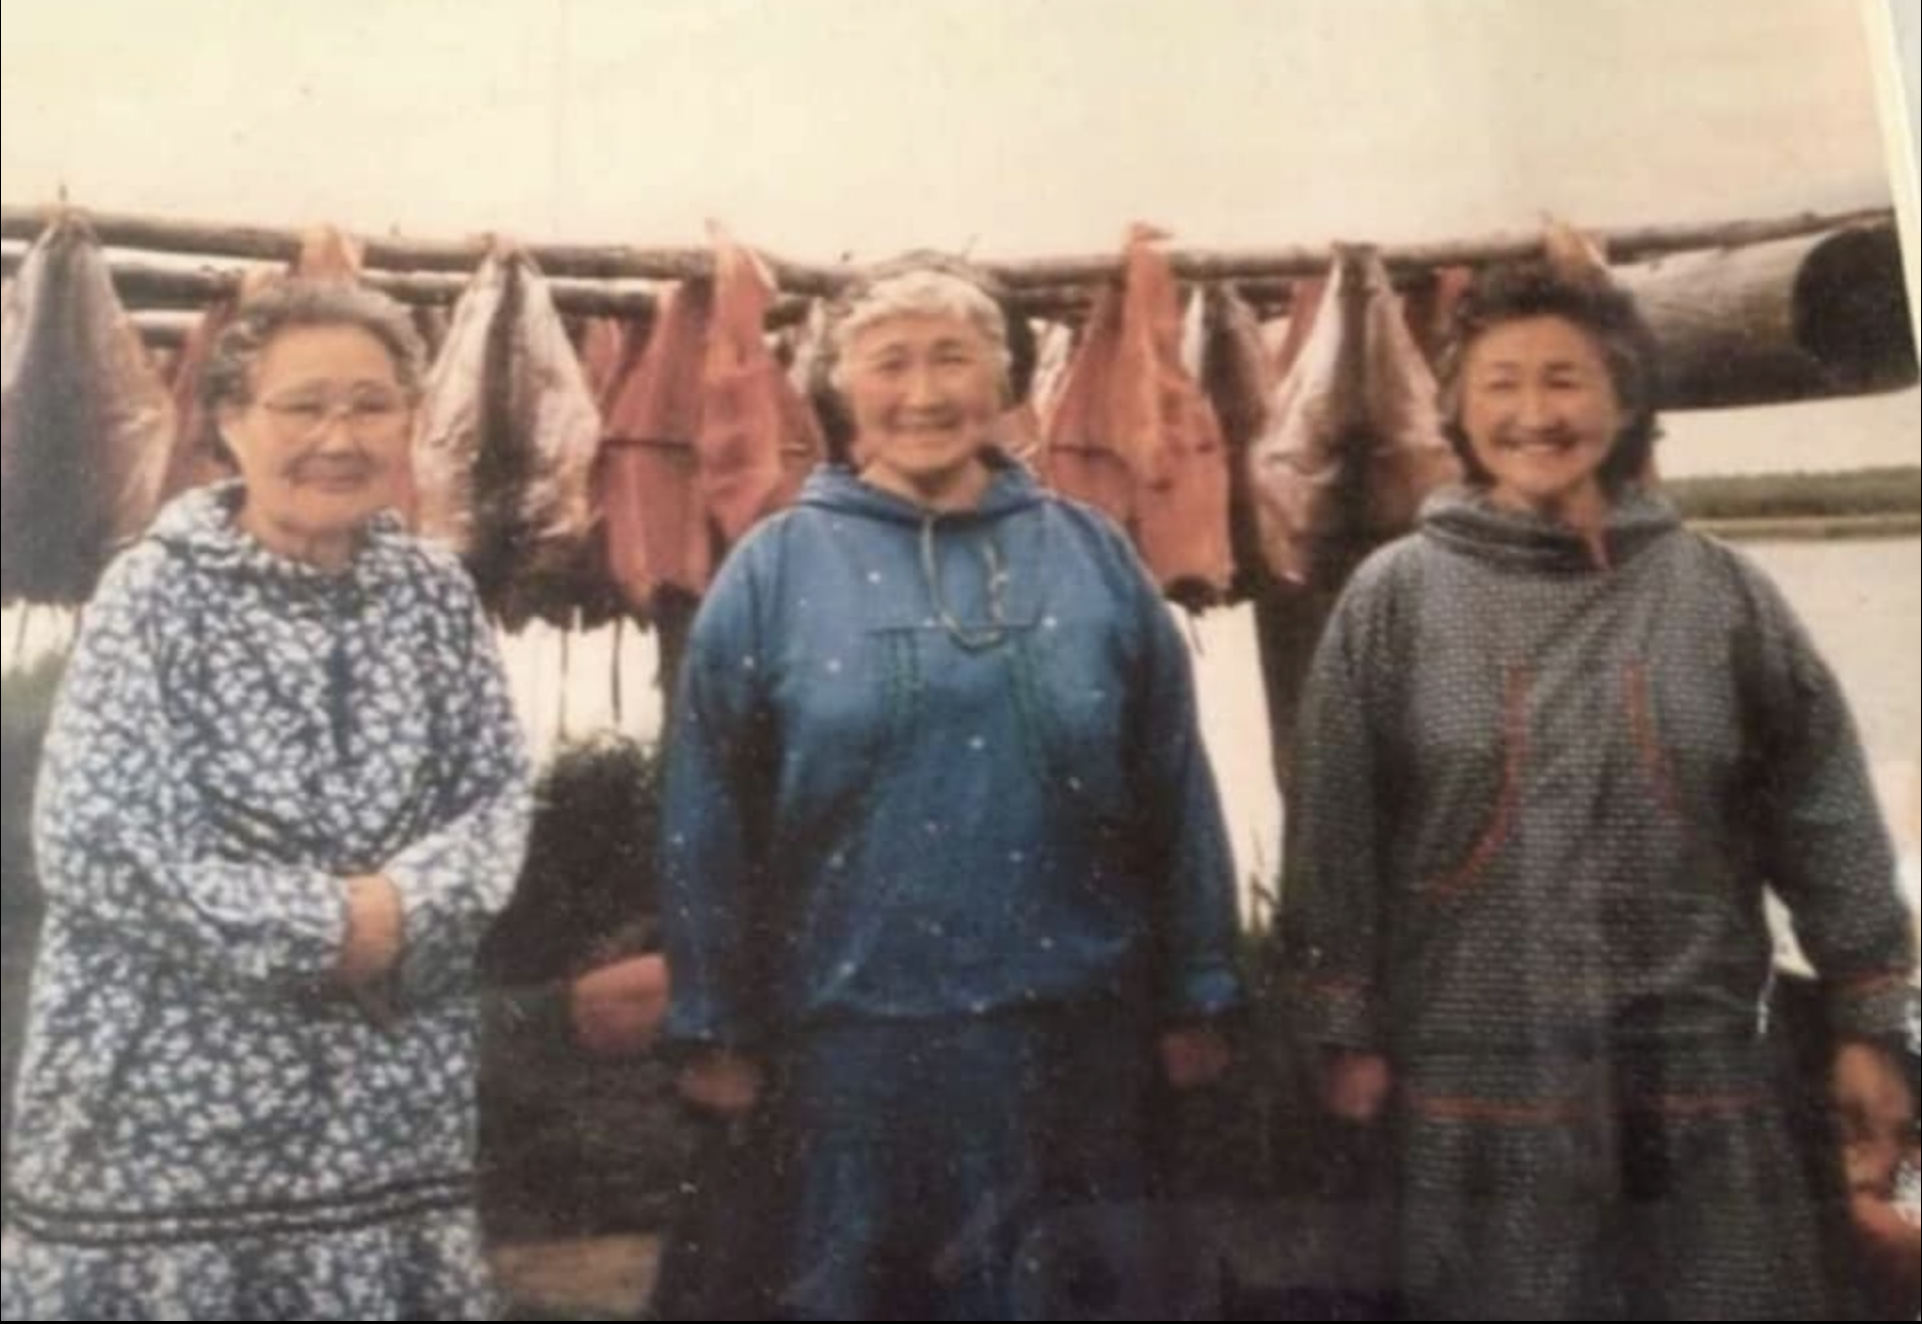
My grandmothers Elena Nick “Narullaq,” Sophie Nicholas, and Eliza Chase “Mikaq”
This was my process of sewing together the piluguk:
Once you gather together the supplies then you will decide where you want to put your piluguk from the calf skin. You always want to make sure that the calfskin is going down. Once you cut out the calfskin then you will decide if you want to decorate it with ciivaguat.
Decide what you want to use for the sides, I used river otter just like my grandmother. I also used river otter for the top portion. For measurements I measured my grandmothers and used hers.
Decorate your calfskin with ciivaguat (river otter), yarn, beads. And then I added the two strands of beads on each side of the front.
When I sewed on the yarn pieces I made them longer, and then I cut them down to the size I liked.
After you decorate the front and back. You will sew on the strips of river otter tails to the calfskin starting from the bottom. Sew those pieces on the front calf skins. After attached to both sides, now you sew on the back piece calfskin.
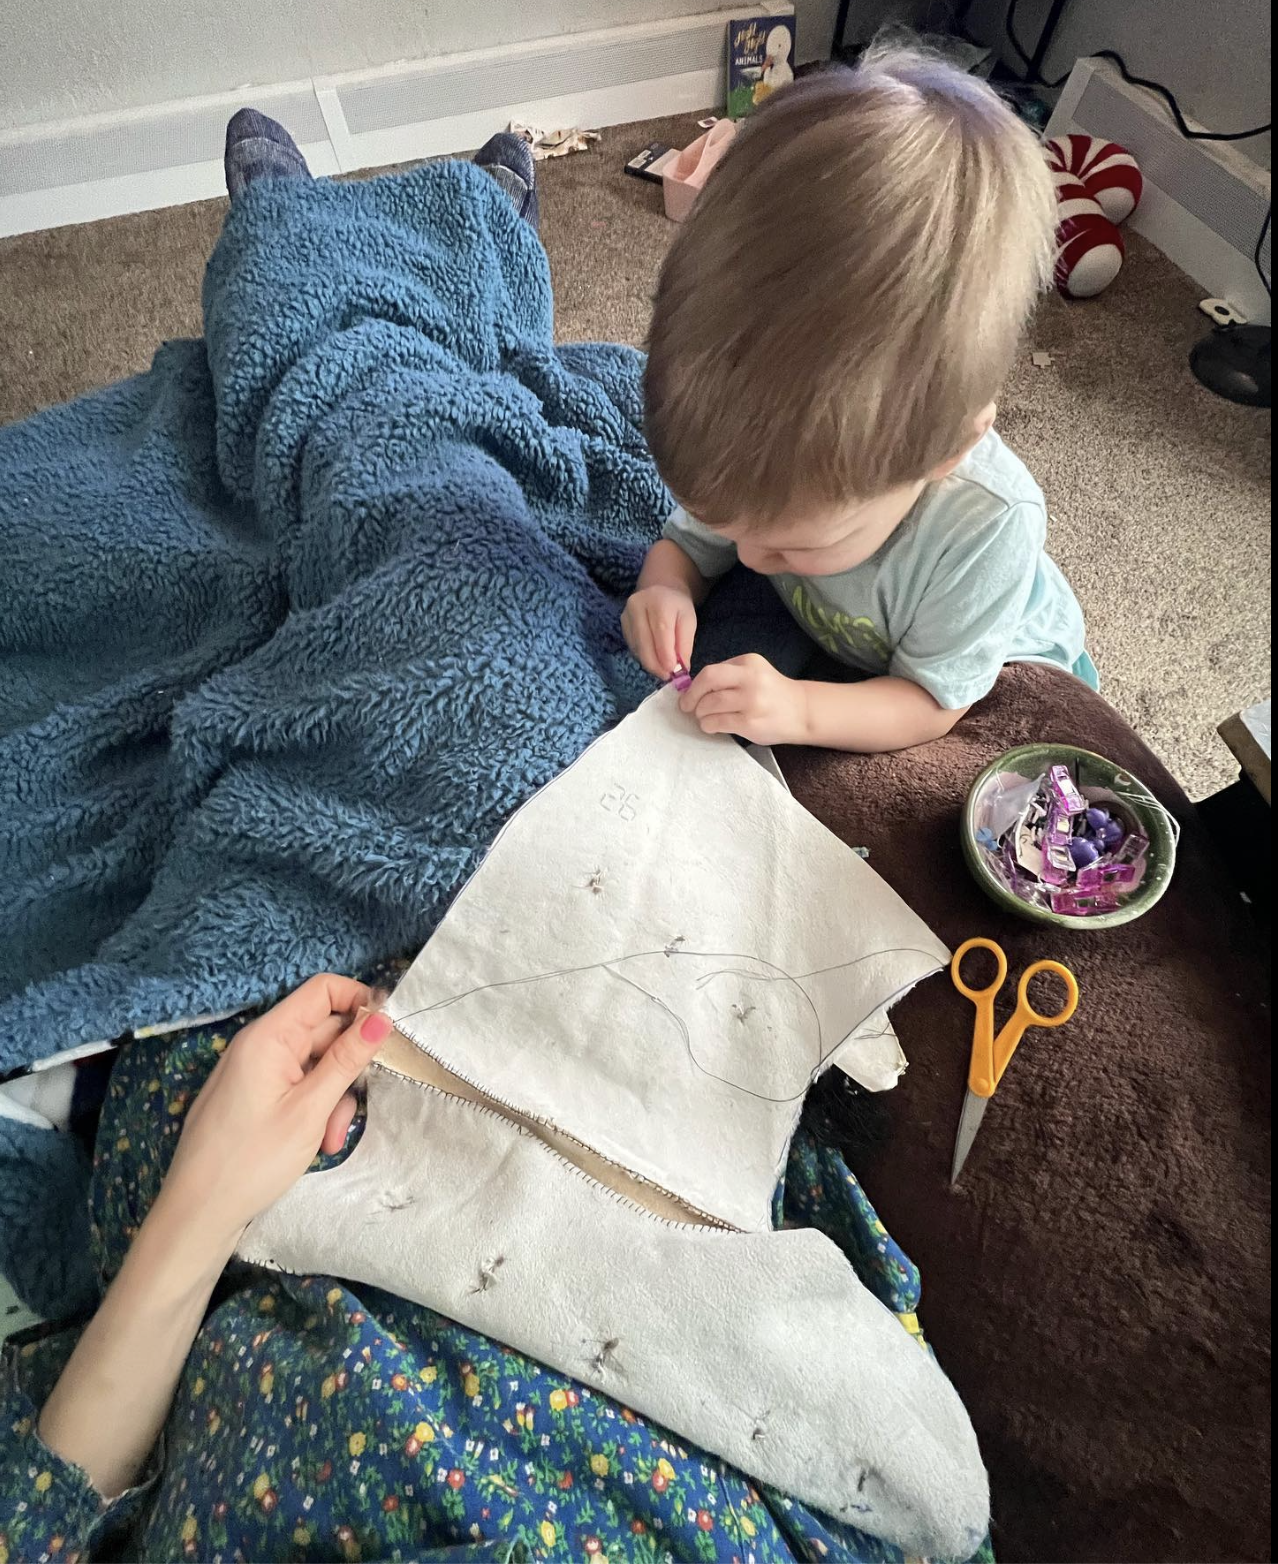
My son helping me sew together my piluguk. Here is where I attached the river otter tails (1″ wide) to the front of the calfskins.
Once they are assembled, you will sew the river otter top pieces.
I decided to turn them then at this point and measure to make the liners. I made my liners out of quilted material.
I was thankful to be able to spend a weekend with Margaret in Homer while I worked with my piluguk with her guidance.
7. After I sewed the liners together I then attached them onto the calfskin on the inside. I made sure to leave a little space for when the nat’raq was going to be sewn on.
8. And then I cut out the corduroy tops and sewed those onto the piluguk.
Here are my completed piluguk without the corduroy tops.
9. Once you have assembled all the outside pieces at that point you will now cut out the nat’raq to match your piluguk.
Here are my piluguk and nat’raq cut ready to be crimped. To keep your nat’raq from rotting you get them wet and put them in the freezer until ready for use.
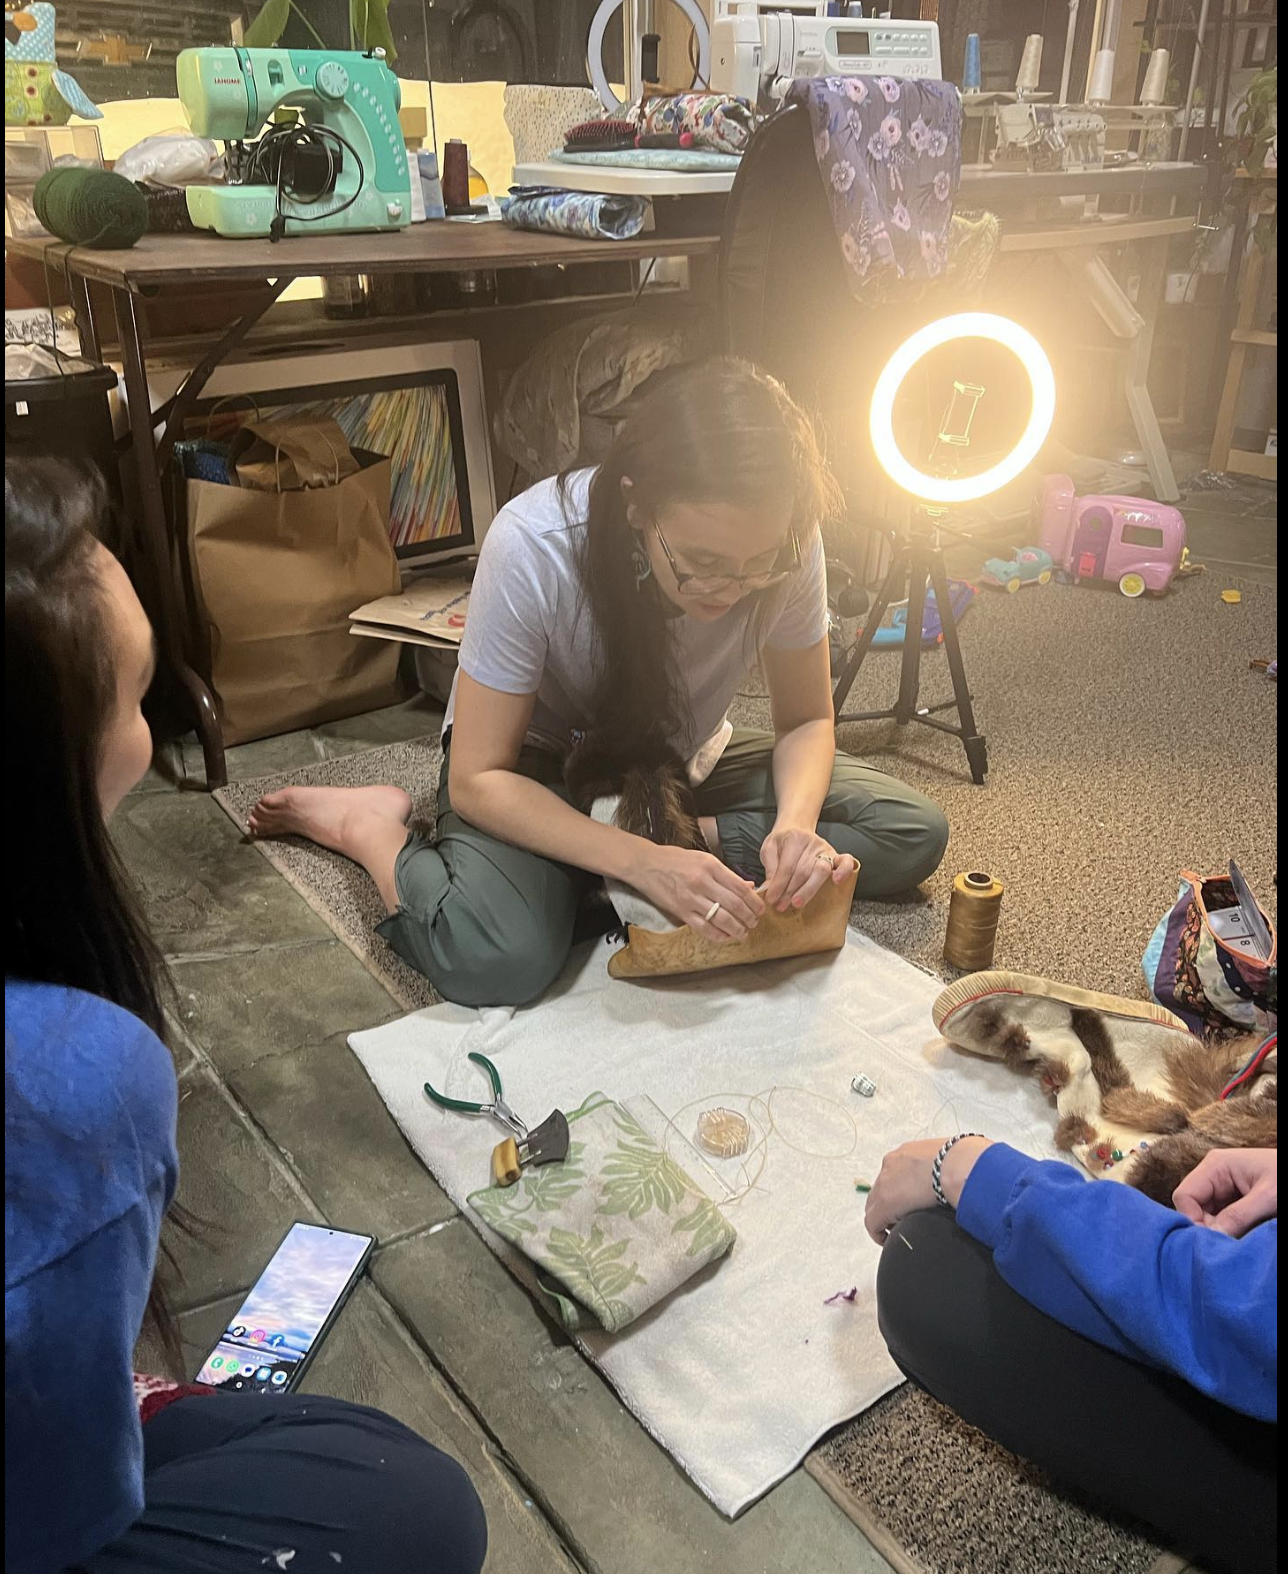
And then here comes the hardest part, crimping the nat’raq using a small uluaq. This part almost had me wanting to quit because I kept comparing my crimps to my grandmothers. I discovered with the commercially tanned bearded seal might be too thin and it was easier to work on while it was more dry. Traditionally you wet the nat’raq and then you are able to crimp them. Aka tamani (a long time ago) they used their teeth and a small uluaq to crimp. Nowadays with the new tools there are crimping tools out there that you can use.
Here is my first time crimping. I am so thankful to my teacher Margaret for showing me how. I have a lot to learn but I am so grateful that I have my first pair of piluguk under my belt and I am excited to keep sewing. Throughout the process I shared videos on my Sew Yup’ik social platforms. Please check them out if you would like to see more. I am hopeful one day that I will be able to share this knowledge and teach it in classes. For now I am going to just keep trying and I hope that my crimps will be someday as good as my grandmothers.
Here are my first crimps. This is when I discovered it was easier to work with my nat’raq when it was more dry vs. wet. I was so excited to share my first side. It was not great but I was thankful to start. My first pair of piluguk completed. I decided to try my hand at teeth crimping on my second pair and actually enjoyed using my teeth to crimp. Wearing my piluguk for the first time in Mamterrilleq.
I am so thankful to The CIRI Foundation and my piluguk teacher Margaret for making this possible. I am thankful to my grandmothers who were incredible sewers and seamstresses. I am thankful that I was able to replicate a pair of piluguk from my grandmother for my first time. And most of all I am thankful to my family who is always supportive especially my aipaq.
Quyana! Don’t be scared to start something new. Don’t wait until it’s too late. If you have someone willing to teach you how to make a craft take the time and listen before it’s too late.
The zoom classes will be over three different weekends. The three weekends are:
November 27-28
December 4-5
December 11-12
The first two zoom classes will be traditional qaspeq classes. And the third class will be a modern qaspeq class. There will be three sessions over the weekend. There will be two (2) hour sessions on Saturday, and one (2) hour session on Sunday.
Students will need to provide their own material, and sewing machine.
The fee to participate in the class with $75 per person. And there will be at 15 person maximum capacity.
I will create three different events on Facebook for these events. If you do not have Facebook you can send me a message to sewyupik@gmail.com if you are interested in participating.
I wanted to create this post to prepare those of you who are interested in attending. Please do not ask me to remind you, or to message you when I post the events. I work full time, work part time, have two little ones at home, and my mom brain is in full force. I forget when I showered last so I am not a good person to ask to remind anyone. Sorry for the TMI but I want to be honest.
Materials needed for a traditional qaspeq:
3 yards for sizes XXS-XL with no skirt
3 1/2 yards for sizes XL and up with no skirt
Add 1/2 yard if you would like a skirt
2-3 packages of bias tape, trimming of your choice
I personally like using the extra wide double fold bias tape, and piping
Please let me know if you have any questions. Please keep an eye out for those events created on Facebook and it will have all the information on how to register for the classes.
There are many ways you can support a small business without actually buying anything. Here are some of the ways you can support a small business that are free.
Share a Post
Like a Post
Repost
Comment
Tag a friend
Give a shout out
Encourage them
Leave a review
Engage with their posts
As a small business owner I do not have any employees but myself. Sometimes my almost 4 year old daughter Syd loves to help me, and my 3 month old often sleeps on the job. So any like, share, post or anything helps me and it is much appreciated.
Its been a whirlwind of travels since July 23rd! Whew!
Where do I even begin?!
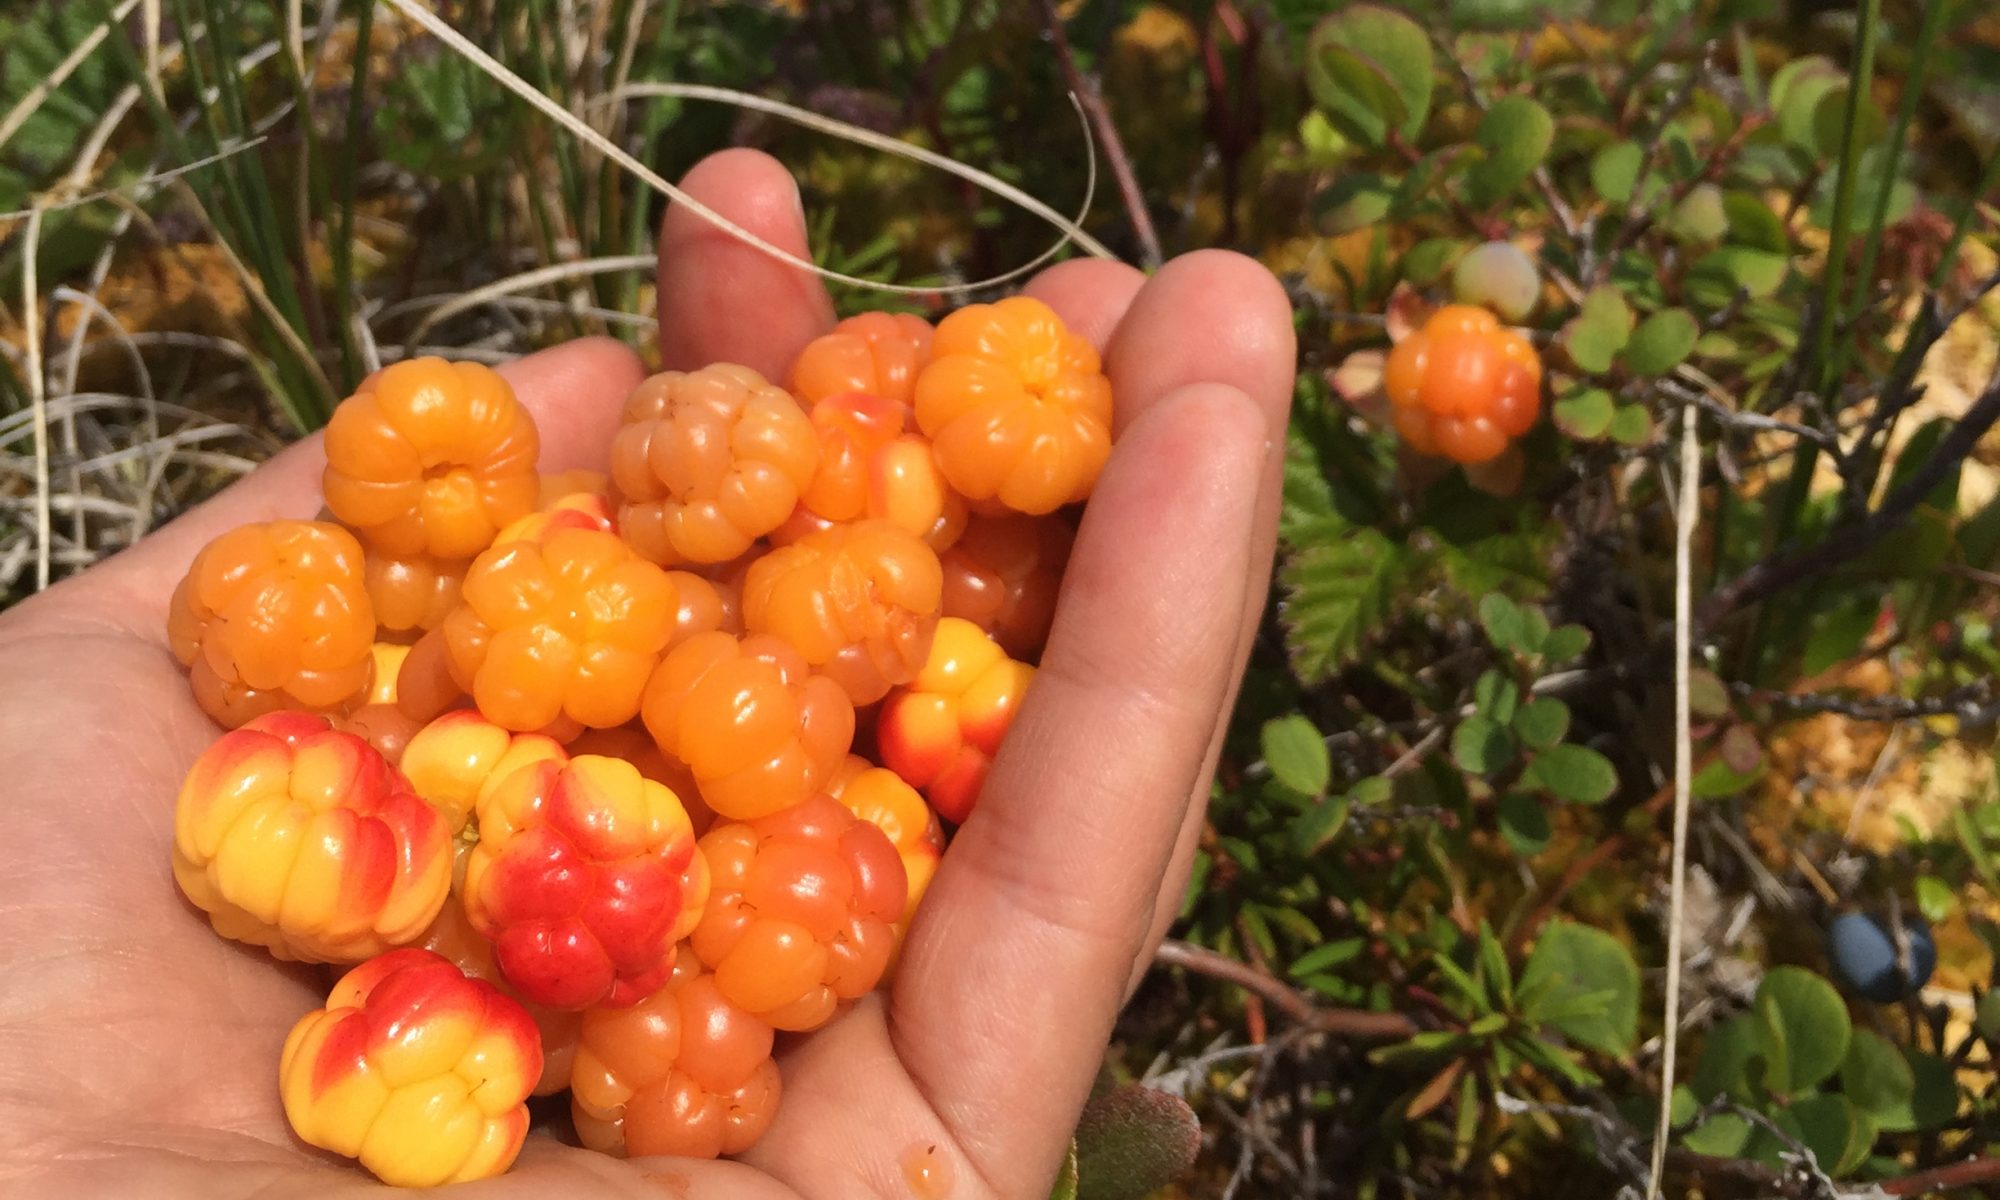
I quit my job July 21st and I was on the plane en route to Kotzebue to Camp Sisualik to be a camp counselor for a week! It was such an ahhmazing experience! Camp Sisualik is 14 miles northwest of Kotzebue and a former village and it is still currently a summer camp. It was such a wonderful experience! I taught the kids fish skin tanning. Taught them how to take a good Yup’ik hut maqii. We went out on a hike. Berry picking. The kids were able to check the white fish net. We played some native youth olympics. Made fireweed/bluerry and fireweed jelly. The students collected and made a traditional oil using stinkweed, fireweed flowers, and blueberry leaves. And the students got to just play! There were 10 girls and 6 boys from Kotzebue who made it to camp. Did I mention I was teaching the kids Inupiaq? Or what I learned from the book and shared with the kids. It was such a crazy, wonderful experience! I dont know if I would camp counsel again but it was one for the books!
After camp! I was home for an evening and then right back on the plane the next day to Nome to teach a qaspeq class to the students at the Rural Providers Conference. It was such a wonderful time! I was able to cenirtaq lots with family and friends. Berry pick. Fishing. Get some pro style pictures from my talented friend. And then I was able to share the art of cutting qaspeqs to 23 students from the Norton Sound region! It was such a wonderful experience! I also took the time to speak to our Senator Lisa Murkowski about the heroin epidemic affecting the Yukon Kuskokwim Delta. I urge you if you are concerned to call her office, send her an email, write a letter. Share your concerns with those who have the ability to make waves. Enough is enough. It it is time to take back our communities and protect our future generations.
After Nome! It was home sweet home. For about a week 🙂 I was able to work on some orders before I was right back on the plane heading back to Bethel to teach a class and get lotsa of visits in. I was able to squeeze in three maternity photo shoots! I am not an expert but I am able to point and shoot and try and find good lighting. It was so much fun! I am learning lots and definitely feel like I am improving on my skills. I was able to get out and berry pick for blueberries and tundra tea. And then I taught a class to 6 students and it was wonderful! Everyone was able to make 2 in the class and we had a blast! The weather was raining and windy so it made for a perfect day to be inside sewing.
After Bethel! I was home only for a day before I was right back on the plane the next day to Takotna to teach fish skin tanning at Spirit Camp. I was so thankful for Takotna Community Association for reaching out and making it possible. It was such a wonderful experience! There were 16 students from Takotna, 16 students from McGrath, and 4 students from Nikolai! I was thankful for my Soldotna friends for saving me halibut I was able to bring halibut with me for the students to tan. The water level was so HIGH the students werent able to catch any silvers. It was such a wonderful week with the students. They berry picked. Fished. Hiked. Fish skin tanned. Made survival shelters. Ethical wildcrafting. Knot tieing. Packed water. Chopped wood. Stacked wood. And so much more! It was such an ahhmazing experience! I am so thankful I was able to make it up there and be at my other other home 🙂 I hope to make it again!
After Takotna! Home sweet home! Whew. I am finally home, rested and ready to plan for the fall classes and trips. We are also in the process of home improvements which include painting, new flooring, and light fixtures. I am hoping to make it to new places this fall to teach classes! If you are interested in having me come to teach a class in your community please send me an email sewyupik@gmail.com
I will share more photos of qaspeqs and make up bags I have finished in the last couple days. But for now back to sewing!
I finally got enough energy to finish two qaspeqs last night! Whew. I think I finally recovered from my whirlwind of a weekend.
Weekend consisting of fishing and berry picking, and berry picking.
And then this afternoon on my quick lunch break I was able to pick a bucket full of fireweed. I am hoping to make fireweed jalapeno jelly, fireweed raspberry and another variation of fireweed jelly before Saturday.
My next few weeks are going to be insane! I head to Kotzebue July 23-31 to visit with family and be a camp counselor at Camp Sisualik! Which I am so excited about!
Then I get home for a day and then head back the next day to Nome for 4 days to teach a qaspeq class at the Rural Providers conference.
And then I am home for about 10 days and then off to Bethel for a week!
Whew! I will be excited once all my travels are done. And I can finally relax and continue working thru my orders.
Life is wonderful! Especially when you fill with smiles, positivity and laughter!
Wednesdays Rock! when they are filled with fish head soup, fish egg spread, akutaq, pike and seal oil, finishing a qaspeq, and finishing a beautiful wall hanging that I inherited from my mama bear Jeanne.
The fish egg spread was ahhhhhmazing! And now its all gone! In my tummy and I shared with my coworkers and friends! I cant wait to make more.
I was able to finish this lovely qaspeq for one of my first friends in kindergarten. I loved how bright and fun it is!
You cant have fish head soup without the akutaq so I had to make a fresh batch. Akutaq is eskimo ice cream made with Crisco, sugar, milk, and berries. This time I used my fresh blueberries and salmon berries and it tasted scrumdiddlyumptious! Don’t knock it till you try it 🙂
And my mama bear Jeanne gave me this beautiful wall hanging that she was going to toss aside but I gladly snatched it up! The only thing I had to do was add the binding. I love how beautiful and simplistic it is. This is her view from looking out her store in Cooper Landing.
I am hitting the road and heading to Milky Chance this evening in Anchorage. I hope to goodness the roads are not jam packed and I can make it in time to see the show!