


Here are my two littlest investors and I am going to share how I am setting them up for success. First and foremost I am not a financial advisor and by no means an expert but I am sharing what I know and have learned in my investing journey.
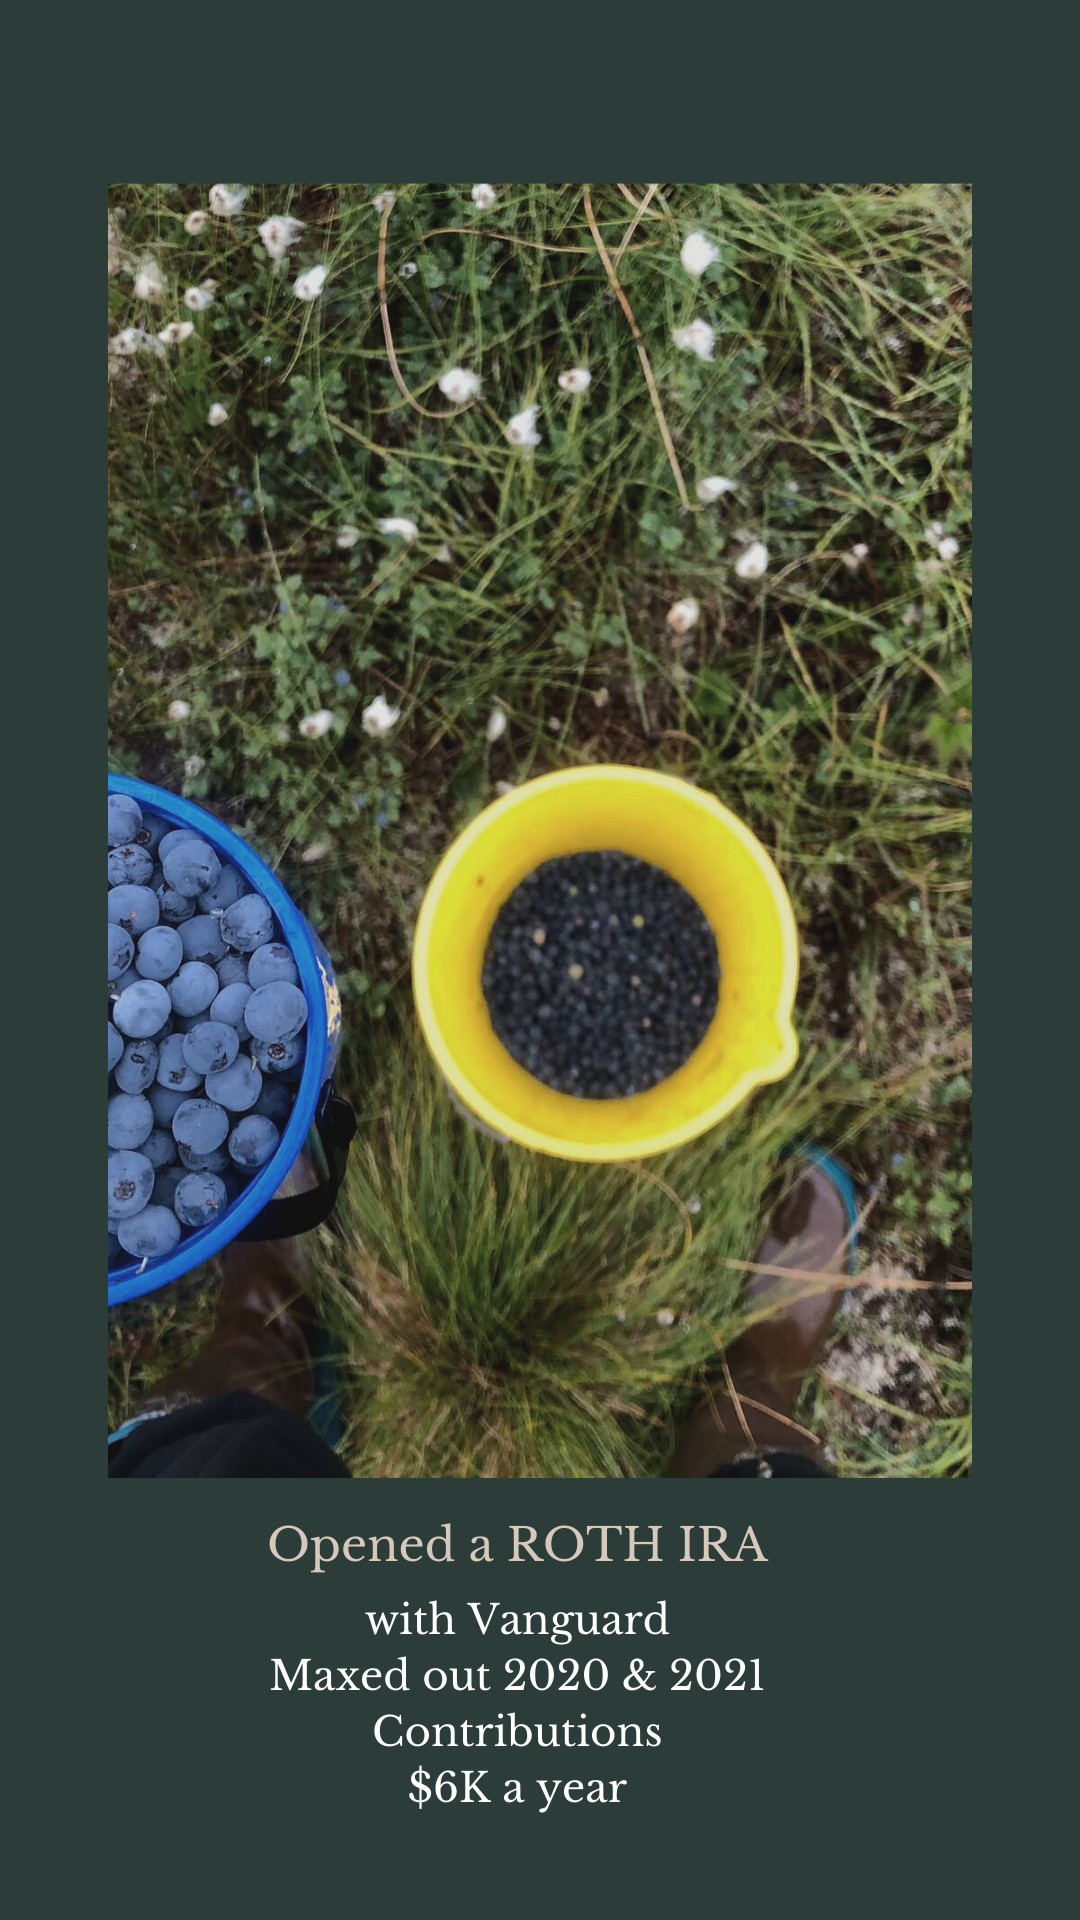
I first learned about 529’s at a young age when my father started putting my Permanent Fund Dividend (PFD) in my own account. He was also gracious and put half of his PFD in my 529. A 529 is a tax-advantaged savings plan designed for future educational expenses. The only downside to a 529 is that the funds can only be used for educational purposes. It may not work in your favor if your child does not have plans on attending college, or a vocational school. I am not planning on investing huge amounts into each of my children’s accounts. With each of their PFD’s half of the funds will go into their accounts and the other half will be invested in their UTMA which is a Uniform Transfers to Minor Act.
My children who are 4 years old and 6 months old each have an account for their 529’s with Alaska 529 which is associated with T.Rowe Price. There are many other websites that offer 529 plans make sure you do your research. I chose Alaska 529 because my children’s PFD’s can be deposited directly into their accounts.
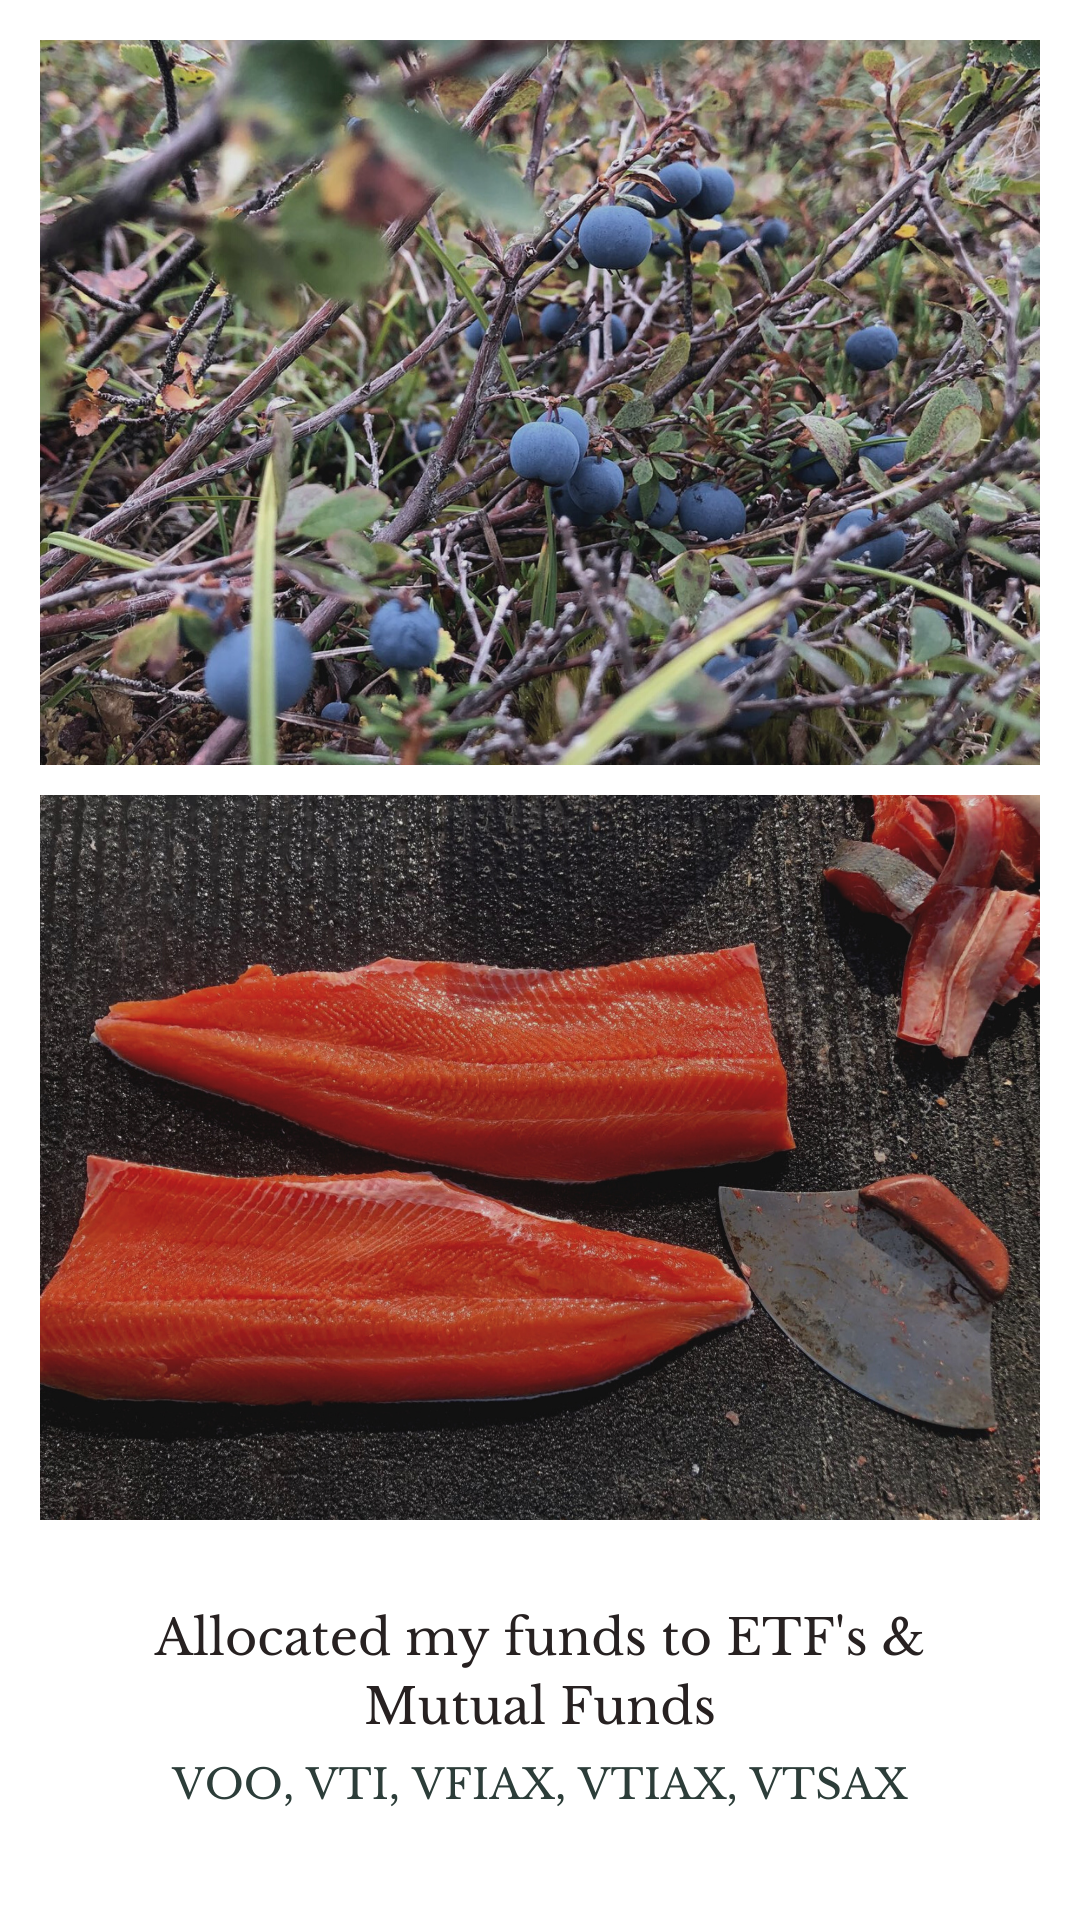
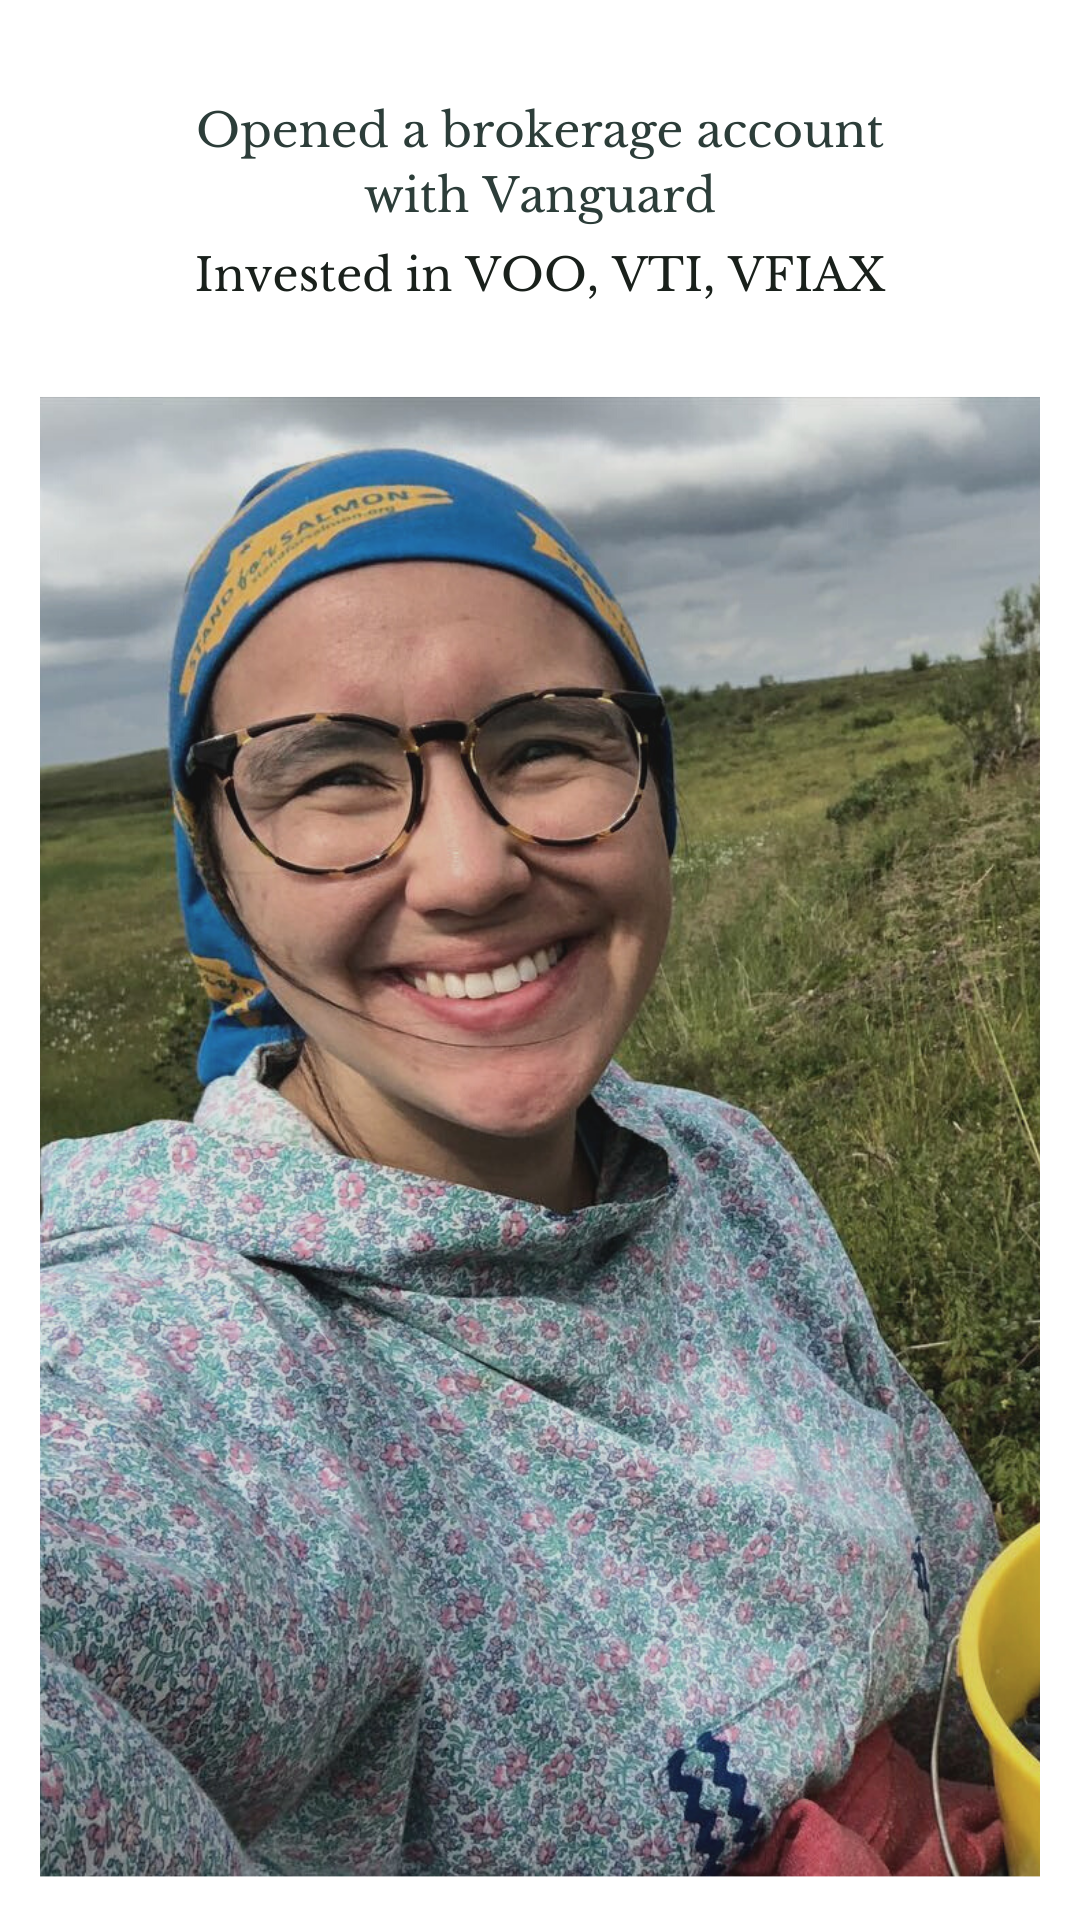
Now I chose to open UTMA accounts for my children because I can invest in Mutual Funds, ETF’s (exchange traded funds) and individual stocks. With a UTMA I am able to invest as little or as much as I prefer up to $13,000 per year per child. I chose Vanguard to open their UTMA’s because I have been a Vanguard investor for the last 10+ years and I like how their website is user-friendly also their funds have low expense ratio’s.
Creating an account on Vanguard is fast and easy. Once you decide which account you want to open with them then it takes a couple days for the funds to hit the account. Once you see the funds in the Vanguard Federal Money Market Fund the key is moving those into a mutual fund, index fund, or individual stock. You do not want those funds to sit in the Vanguard Federal Money Market Fund because they will not start accruing that compound interest.
When it came to selecting funds for my children my go to tickers have always been VOO (Vanguard S&P 500 ETF), VTI (Vanguard Total Stock) and VTSAX (Vanguard Total Stock Market Index Fund Admiral Shares). The key to choosing funds is selecting ones that have a low expense ratio. I prefer funds that have an expense ratio of 0.10% or less any more than that you are losing out on free money.
If all this is another language to you and confusing I recommend checking out Personal Finance Club’s website Jeremy does an amazing job of explaining all of this in simpler terms. At the beginning of the year I knew that I wanted to learn more about investing and the stock market. I went head first and started watching hours of YouTube videos, researching the web and then started stumbling across great finance accounts on Instagram. If I can start, you can do it! Sure, it can be scary at first but the scarier thing is not starting. If you have funds sitting in a bank account and you are not sure what do with it I suggest you start researching investing. And if you are scared to put it into the stock market look into HYSA (High Yield Savings Accounts) at least allow your money to work for you.
My goal for my children is to set them up for success and allow them to have that financial freedom that I am working hard to create for myself. I am working on that generational wealth. Money should not be a topic that is taboo it should be something that we discuss with our children at a young age. I know that when my daughter is old enough I will allow her to choose her own stock to invest in for her birthday present. For now mama will invest in one stock for her each year and right now mama is liking AAPL (Apple).
And if you have any questions don’t hesitate to reach out I am willing to share what I know to help others. I hope that this post was helpful and if you enjoyed it please feel free to leave me a comment. Quyana Chuck Norris!