

Prepping for Nasqurrun Making
Materials Needed:
- Wolf fur (cut into ½” strips) – One wolf can make approximately 15-20 nasqurruns
- Beaver fur (cut into ¾” or ½” strips) – One beaver can make approximately 10-15 nasqurruns
- Canvas (cut to 21″ wide, 10.5″ height)
- Razor (for cutting skin)
- Decorative trim (for karaliqs – embellishments)
- Elastic or moosehide (for ties)
- Beads (Size 6mm or 8mm for general beading, 10mm for finishing)
- Beading needles (Glovers size 10 recommended)
- D-Nymo thread (Black and white)
- Sewing machine & Thread
Traditional vs. Modern Materials
- Brown beaver was traditionally used.
- With the introduction of dyes, black beaver was incorporated.
- Today, the choice of fur color is based on personal preference.
Step-by-Step Guide to Making a Nasqurrun
Step 1: Stretch the Wolf and Beaver Skins
- Wolf: Split the skin, wet it, fold it skin-to-skin, and let the water soak into the fibers before stretching.
- Beaver: Block-stretch by wetting the skin, folding it skin-to-skin, letting the water soak in, then stapling it to a plywood board.
Step 2: Cut the Fur into Strips
- Once stretched and dried, carefully cut the fur into the designated strip sizes.
Step 3: Prepare & Decorate the Canvas
- Hem the edges: Fold ¼” down and sew to create a clean edge.
- Cut and iron:
- Cut canvas into 21″ x 10.5″ pieces.
- Fold in half and iron to create a crease.
- Decorate:
- Start decorating one side only (the side with the crease).
- Begin with karaliqs and work your way toward the end.
- Sew fur pieces:
- First, attach karaliqs.
- Next, sew beaver fur using a sewing machine.
- Finally, layer and sew wolf fur on top.
💡 Need a visual guide? Check out my Sew Yup’ik YouTube channel!
Step 4: Finish the Edges
- Sew both ends down with a ¼” seam to complete the edges.
Step 5: Add Beadwork
- Mark Placement:
- Try on the nasqurrun and mark the end of your eyebrows—this is where the beading will start.
- Bead as Desired:
- The amount of beadwork is your choice!
Step 6: Attach the Ties
- Sew one side with elastic or moosehide ties.
- Adjust and sew the other side accordingly.
- Final stitching: Sew the top canvas edges together, avoiding sewing into the wolf fur.
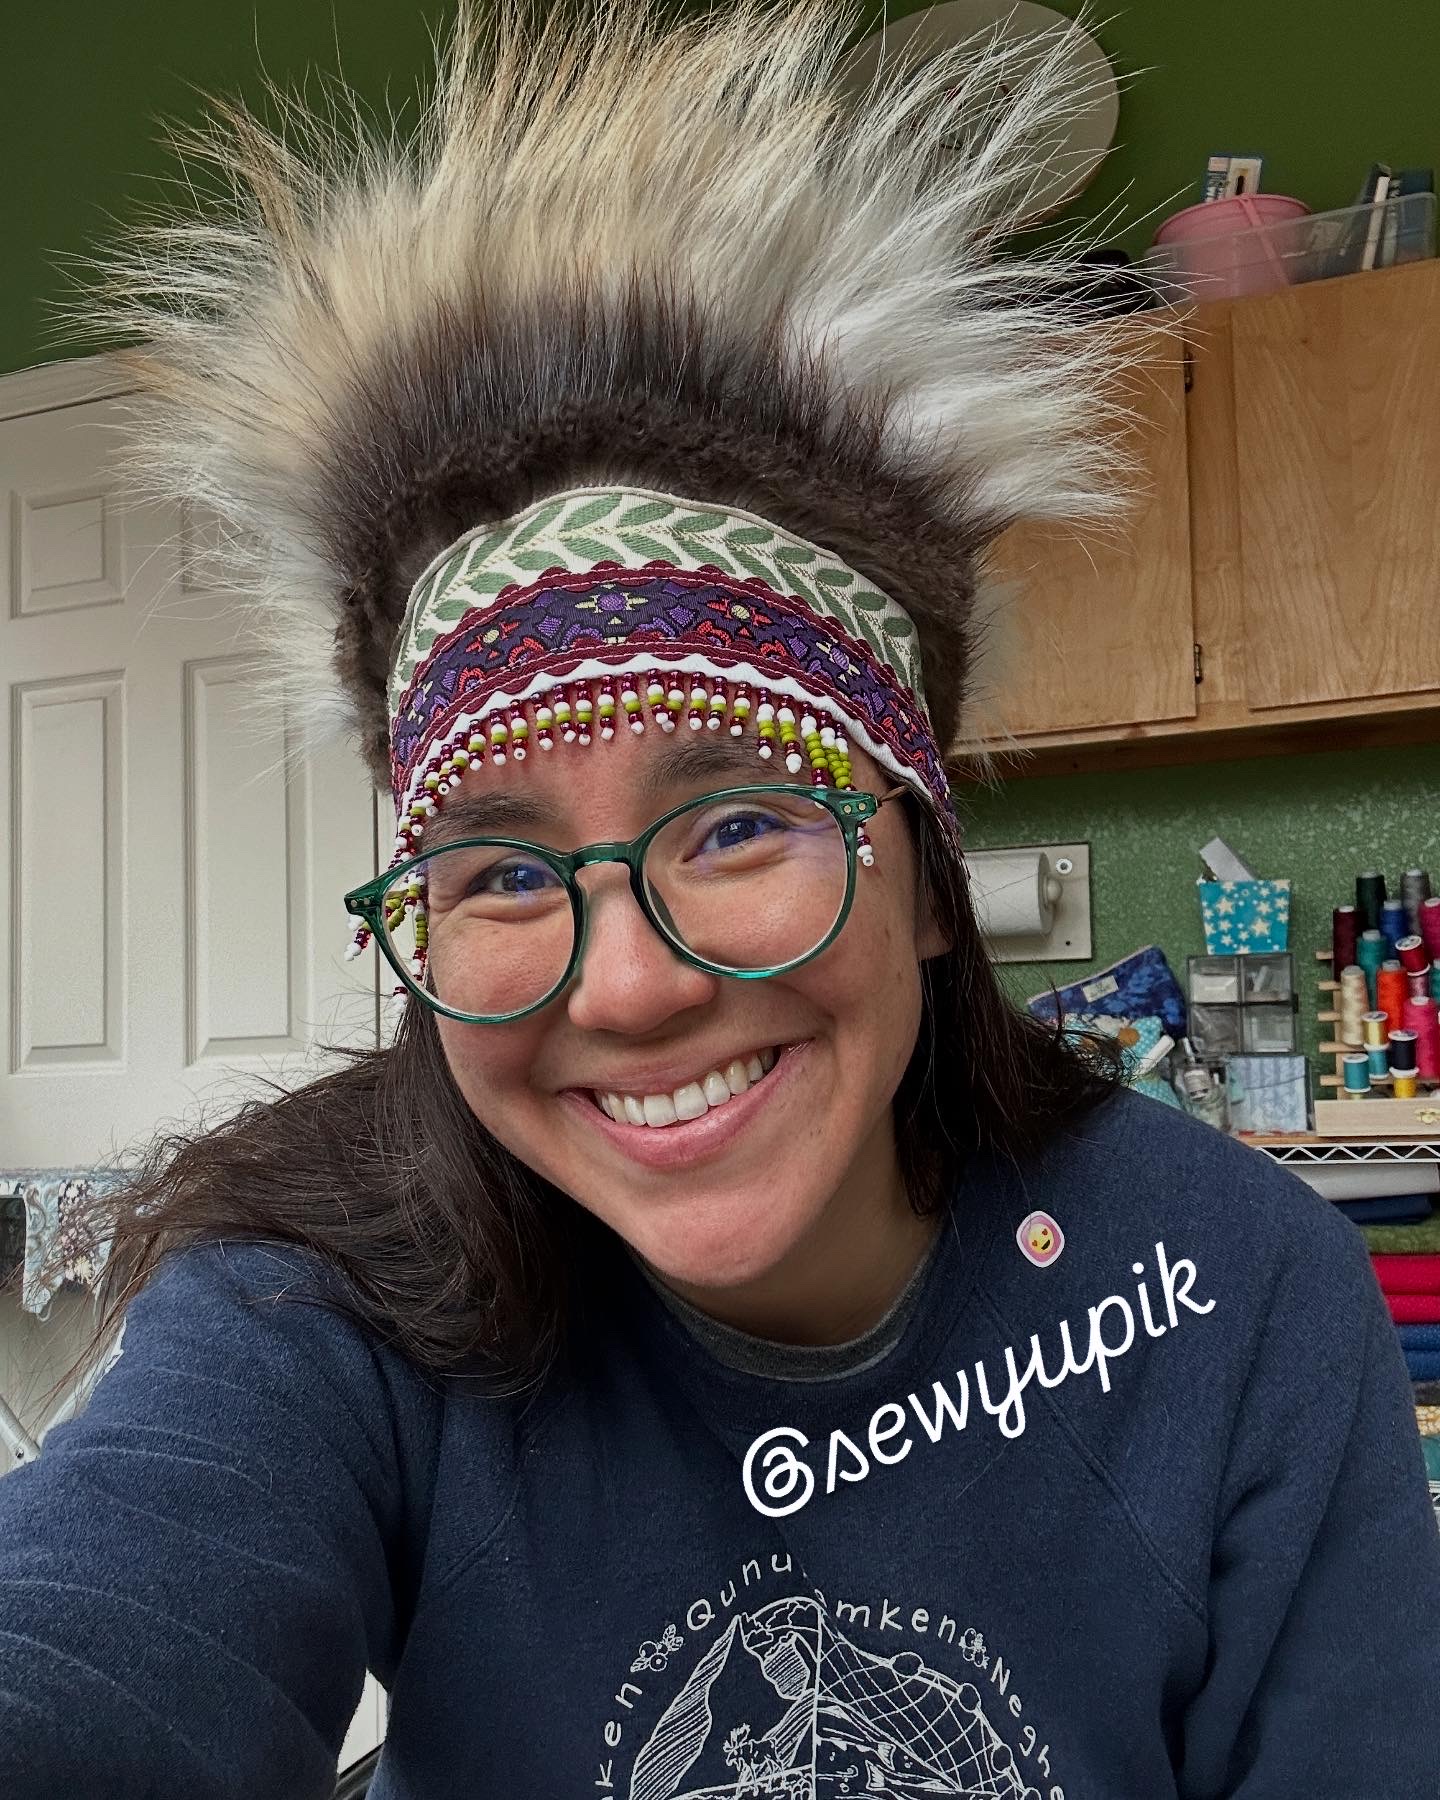
💫 Tuai! Your nasqurrun is complete. Wiinga aqa taqua!


🌟 Stay Connected with Me!
Follow my journey, support traditional Yup’ik arts, and never miss an update on workshops, tutorials, and cultural storytelling:
🔗 Sew Yup’ik
📸 Instagram: @sewyupik
📘 Facebook: Sew Yup’ik
▶️ YouTube: Sew Yup’ik Channel
🧵 TikTok: @sewyupik
🌐 Website: www.sewyupik.com
💌 Stay in Touch
📧 Email: sewyupik@gmail.com
If you would like download the PDF it is below. If you make a nasqurrun please tag me on social media. Quyana Chuck Norris!
Here is the YouTube for reference: https://youtu.be/xSdluEebTec
